


Editing Patient Default Text Template to Include Practice Name and Phone
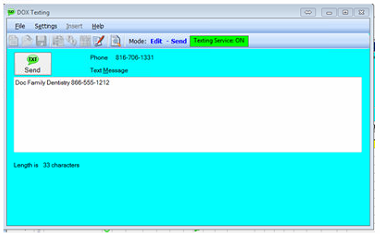
When a user clicks the GREEN or RED text icon in TPL, and then selects Reply, the system uses the Default Patient text message template to create the response. We recommend that this text template automatically include the Practice Name and Phone as shown below. If your reply text appears blank, follow the instructions below.
- Go to an Unused Workspace, and select Write|Text Message.
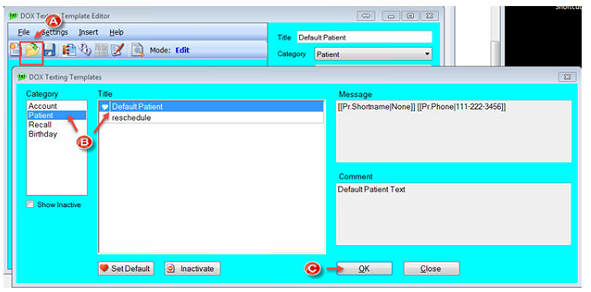
- Click the Open Texting Template icon (Figure A). In the first section called Category, highlight Patient, and then select Default Patient in the Titles section (Figure B). Click OK to open the template (Figure C).
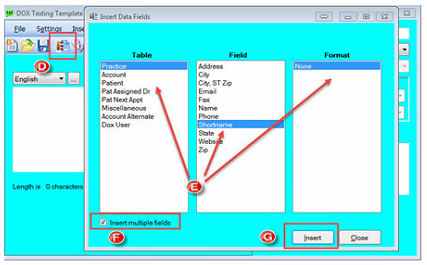
- Click the Insert Data Fields icon (Figure D).
- In the Table column, select Practice. The second column will show all the fields that are available for Practice. Click Shortname in the Field column. The last column will show all format options for the selected field. The Shortname field has only NONE as an option, which is automatically selected (Figure E).
- To save keystrokes, you can click the checkbox “Insert multiple fields” in the lower left corner (Figure F).
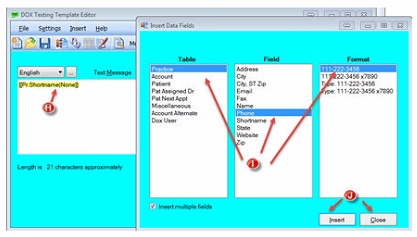
- Then click Insert (Figure G) to place this data field in the Default Patient template (Figure H in the below screen).
- To add the phone number, click Practice in the Table column, then Phone in Field column and the 111-222-3456 Format in the third column (Figure I).
- Click Insert and then Close (Figure J).
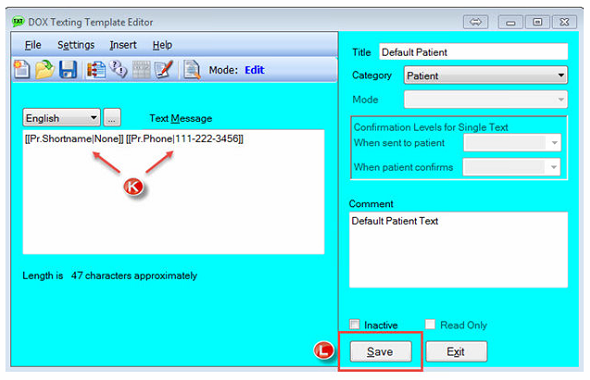
- The Patient Default template will look similar to that shown in Figure K.
- Click SAVE (Figure L).
We recommend that you also add the Practice Name and Phone to the Account Default template. Simply click the Open Texting Template icon (2nd icon from left), select Account, Account Default and repeat the steps above.